In theory, it should be easy to move the cursor in text on an iPad or iPhone—just tap where you want the cursor to go, or press and hold until the magnifying circle appears over the cursor and then slide it around. In reality, it’s often fussy and annoying because our fingers are a lot wider than the cursor itself. Starting in iOS 9, Apple came up with a better solution—trackpad mode—and in iOS 12, the company extended it to devices that lack 3D Touch.
In trackpad mode, you turn the onscreen keyboard into a virtual trackpad. Just as on a Mac laptop, moving your finger around the virtual trackpad moves the cursor in the text above. How you invoke trackpad mode differs slightly between the iPad and iPhone.
Trackpad Mode on the iPad
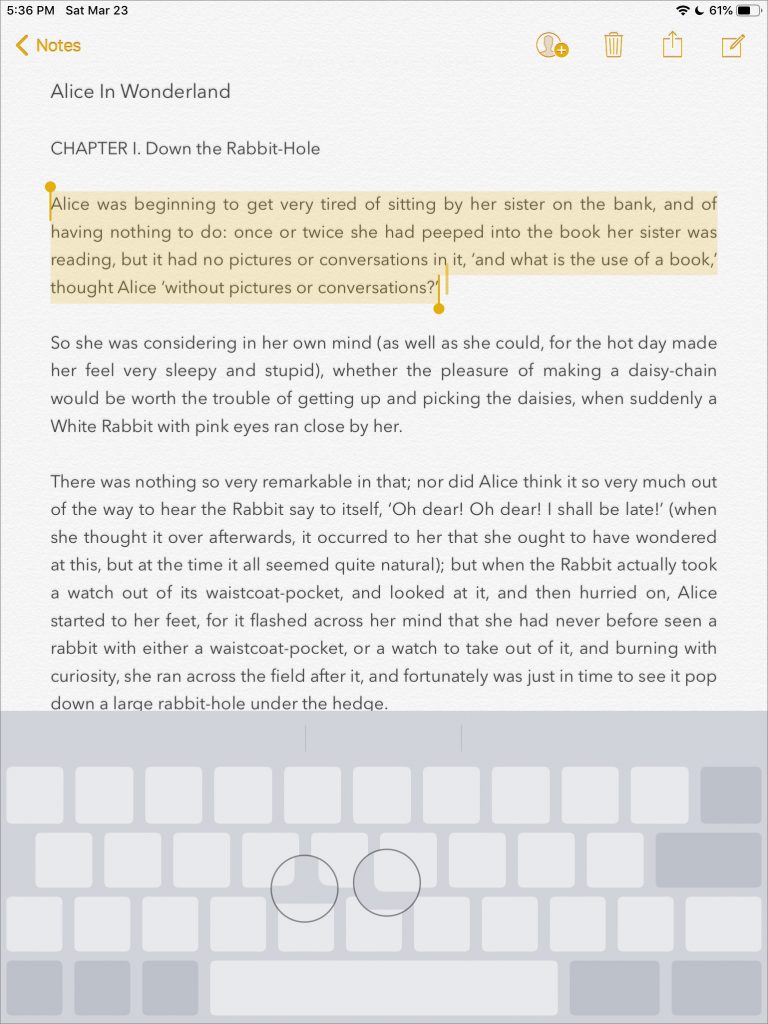
On an iPad, open any app that allows text input, like Notes, and bring up the keyboard. Touch the keyboard with two fingers, and you see the letters disappear from the keyboard as it switches to trackpad mode. Immediately swipe your fingers (or just one, you can lift the other up) around to move the cursor within the text. Or, for the new approach, touch the Spacebar and pause briefly to switch to trackpad mode.

You can also select text in trackpad mode. If you start with two fingers, instead of swiping immediately after entering trackpad mode, pause with your two fingers down briefly, which causes iOS to switch to selecting text. Then move your fingers around to change the colored selection. If you start with one finger on the Spacebar, position the cursor where you want it and then tap anywhere on the grayed-out keyboard to start selecting.
For easier selection of chunks of text, put the cursor in a word, let up, and then tap once with two fingers to select the word around the cursor, twice to select the sentence, and three times to select the entire paragraph. To expand or contract the selection, keep your fingers down and drag the selection cursor. To deselect text, tap once on the keyboard with two fingers.
You can use trackpad mode even if you have an external keyboard attached. Tap in a text input area, place two fingers anywhere in it to engage trackpad mode, and then move your fingers to reposition the cursor (again, you can lift one finger up after you start). To select text, put the cursor inside a word, release your fingers, and tap once to select the word, twice for the sentence, and three times for the paragraph.
Trackpad Mode on the iPhone
Before iOS 12, trackpad mode on the iPhone worked only on models that supported 3D Touch, which eliminated the iPhone 5s and earlier and the iPhone SE. iOS 12 added another approach, which is good because 2018’s iPhone XR also lacks 3D Touch.
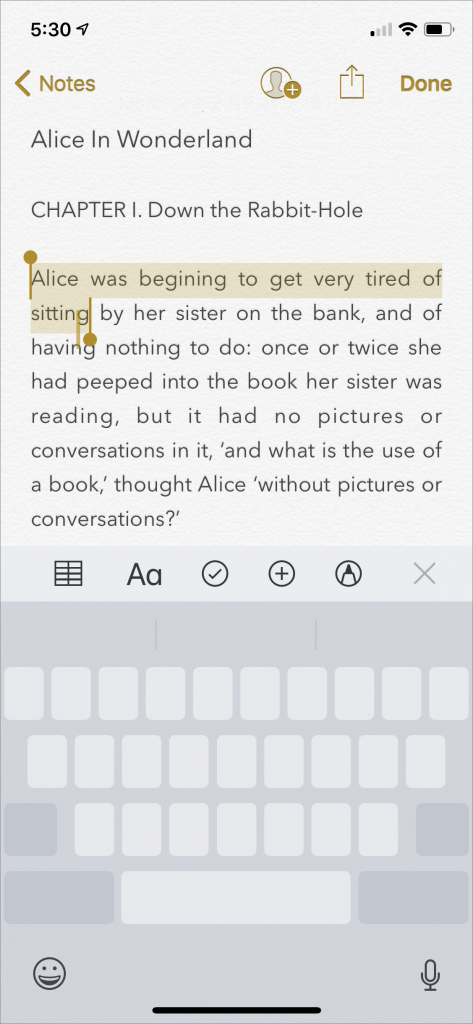
To engage trackpad mode on an iPhone that supports 3D Touch, press firmly on the keyboard with one finger—you’ll feel the iPhone’s Taptic Engine simulate the feel of a click. Keep your finger down to move the cursor around. Apple’s new approach to invoking trackpad mode works on all iPhone models—touch the Spacebar and pause briefly to switch to trackpad mode. In either case, if you need more room, you can move your finger off the keyboard image right onto the text.

On 3D Touch iPhones, to select a word, relax your finger pressure slightly without removing it from the screen, and then press again. It’s quite similar to the feel of clicking on a MacBook trackpad. You can even double-press—again, with a slight relaxing of the finger first—to select the current sentence and triple-press to select the entire paragraph. Keep dragging after selecting to select more text by the word, sentence, or paragraph.
When using the Spacebar approach to invoking trackpad mode, you can still select text. As on the iPad, position the cursor where you want it and then tap anywhere on the grayed-out keyboard to start selecting. The two-fingered tapping on the normal keyboard that works on the iPad doesn’t work on the iPhone, unfortunately.
Trackpad mode takes a little getting used to, but it’s so much better than the previous selection methods that it’s worth making yourself practice until it becomes second nature.
Want to learn more? – iOS 12 Feature – Smart “Do Not Disturb” – No More Missed Alerts!

